
Equilibrium Dungeon: Defeat Harrow the Dredgen Apprentice 2nd Encounter Guide
You managed to board the harvester and make your way through the Barant Ship in the Equilibrium Dungeon. You have come across a Gladiator wielding two Praxic Blades. Yes, you saw that right. You are fighting a boss that has two Praxic Blades. The mechanics for this encounter are not complicated. Once you get comfortable with the mechanics from this guide, you should be reaching damage phases consistently.
Equilibrium Dungeon: Beginning the Encounter
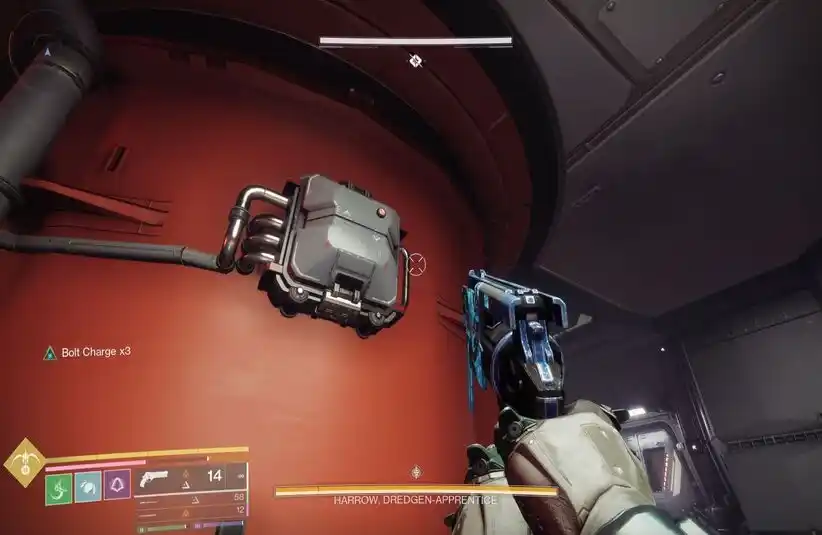
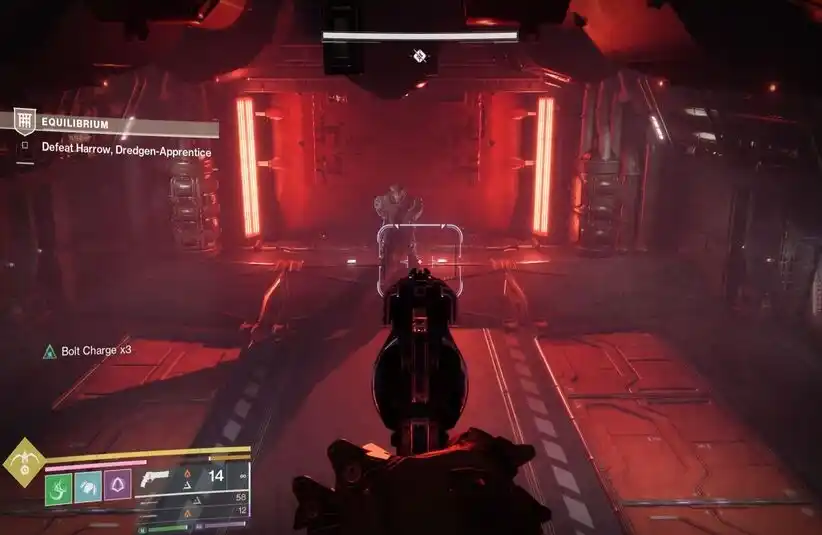
Turn around from the rally flag to spot a fuse on the wall. Break the fuse to open the hatch and drop below to the Harrow. Approach him to begin the encounter. Be careful if you get too close to the boss. He will not only try to slice you with the Blades, but he can also do the same explosion as the Gladiators from the first encounter. You will need to wait for the Barant forces to open one of the doors surrounding the central room. Rush to the door once it opens and stay near it in the hallway to keep it open for your teammates.
Equilibrium Dungeon: Restoring Power as an Apprentice
On the outer parts of the encounter are three further rooms. There is one on the left, one on the right, and one in the middle. Each room has legionaries and another Barant enemy team. The side rooms have centurions, while the middle room has a Colossus. Killing these enemies drops the Taken Essence on the ground. Psions will periodically spawn in the hallways. They also drop Essence when killed. You will need to fill up your bar until you reach Shadow Apprentice. In each room, there are three panels. You need to use the Shadow power on each one to power up the central room. Once all outer room panels are charged, head back to the central room.
Equilibrium Dungeon: Beginning the Damage Phase
Now that you have returned to the central room, you have a couple more mechanics to start the damage phase. On the left and right sides of the room, near where the boss spawns, are two fuses. Breaking each one opens a part of the floor.
Bait the boss into the opening to remove a part of his shield. Every time he jumps out of the pit, use your Shadow Energy ability to break more of his shield. Doing this part will extend your DPS phase timer. You will need to do this once for each fuse. Before hitting the fuses, make sure you power up the panels to charge one of the pylons. If you do not use the Shadow Power on the boss, you will need him to break the pylon to start the damage phase. Otherwise, get him to break the pylon during DPS to stun him and extend your time.
Equilibrium Dungeon: Final Stand
The Final Stand for Harrow is not complicated. Follow him as he breaks the door and jumps across. Be sure to take out the Scorpion turrets as you follow him. His shield will eventually disappear. Now is your time to deal damage, but be quick.
Equilibrium Dungeon: Loadouts
Swords are a solid option for damage in this encounter. The proximity of the boss makes for a great time with swords. A Well Warlock will go a long way in ensuring that you stay alive. However, in non-contest mode, a rift will likely be enough to heal you up. Otherwise, bring your damage supers like Thundercrash, Golden Gun (if you can land the crit), and Needlestorm. Prismatic Grapple Punch Hunter will also thrive in this setting.