Equilibrium Dungeon: Defeat Dredgen Sere 3rd Encounter Guide
The Dredgen Sere stands between us and saving the Praxic Order. But more importantly, he stands between us and valuable Equilibrium Dungeon loot. You will need to be on your toes in this encounter as one misstep can prove disastrous. Prepare to fight our first-ever raid or dungeon Guardian boss in Destiny 2. Today’s guide will take you through all you need to know to complete the encounter and the Equilibrium Dungeon.
Equilibrium: Dredgen Sere Opening
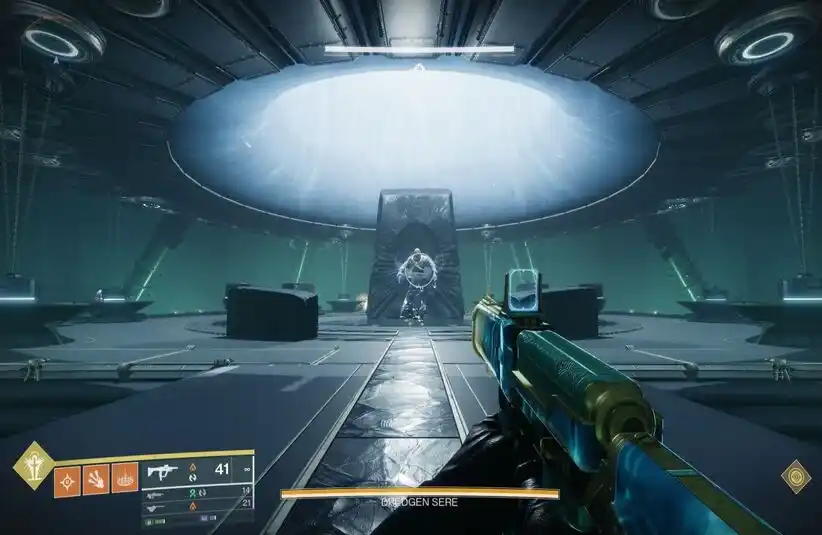
After opening the door, do not run straight at Dredgen Sere. He will do an AOE attack to start the encounter. Instead, hug the outer edges of the platform. The Shadow buff and its previous mechanics return for this encounter. There are panels and Nameless Apprentices. For this fight, you can become a Shadow Master. It will become pivotal later in the encounter. Lackey Icendiors will drop the essence this time.
After a brief time, the boss will choose one fireteam member. He will lock on them with Stormtrance, even passing through walls. Shooting his hands will stun him and stop the attack. He will repeat this at various points throughout the encounter. Behind the boss are five Taken orbs, but they are immune. Killing an Apprentice will remove the immune shield on one orb at a time. You will also notice that you have a timer alongside a buff called Lure of the Dark. When that reaches zero, you will teleport to the Ascendant Realm. Breaking an Orb extends your time.
Equilibrium: Welcome to the Ascendant Realm

In the Ascendant Realm, you will meet Taken Combatants and Blistered Shadows. These are Shadow Forms of Dredgen Sere. There are five spread out throughout the arena. Two will always be in the middle, one in front of you as you teleport in, and one directly above you. You can do one of two things with them. Kill or them, or compel them.
To compel them, you must become a Shadow Master, walk up to them, and interact. Doing so adds a completed square to your Lure of the Dark, and they become docile. Compelling Shadows increases your damage time and reduces the bright part of the boss’s health. There are more Taken orbs behind the middle shadow. Their immune shields are broken when a shadow is killed or compelled. Breaking them also extends the timer in the Ascendant Realm.
Equilibrium: How the Panels Work
In Dredgen Sere’s room, the panels control the arc conductors. These become active during and after a damage phase. Activating the panels before damage means you do not have to worry about them while damaging the boss. If you reach past the bright part of his health bar, the conductors do not appear. However, if you fail to hit it, they will remain there for the rest of the encounter. Remember, the more Shadows you compel, the less damage you have to get to stop the arc lightning.
In the Ascendant Realm, the panels create platforms that you can use to cross the area. Most importantly, they allow you to reach the shadow at the top without needing Grapple.
Equilibrium: Starting Damage
Once you destroy all Taken orbs in both realms, damage starts. The optimal strategy is to leave the final Taken orb in the Ascedant Realm. Also, once all orbs are destroyed in one realm, you will not teleport between realms. The boss will do Stormtrance during damage, so be sure to shoot his hands. Remember, if you miss the threshold, arc lightning will engulf most of the arena. Keep repeating the steps until Dredgen Sere is dead.
Equilibrium: Loadouts
On Contest, you should be okay without a Well, but having it will help. The damage buff and healing will get you through most of the encounter. If you have someone confident with Prismatic Grapple-Hunter, they can take most of the boss’s health. Other than that, use your preferred damage weapons and supers, and the boss should fall over.