How to Complete the Way Between Quest in Destiny 2
The Way Between is a quest that applies to the Equilibrium Dungeon. Completing parts of this quest grants additional components for the Praxic Blade. Once completed, you will have the Equilibrium-related Praxic Blade components and The Untrodden Path Triumph completed. At a minimum, it will take you two complete runs of the dungeon to complete the quest line. However, you need someone in your fireteam to have reached far enough in the quest to do so.
Destiny 2: The Way Between Opening
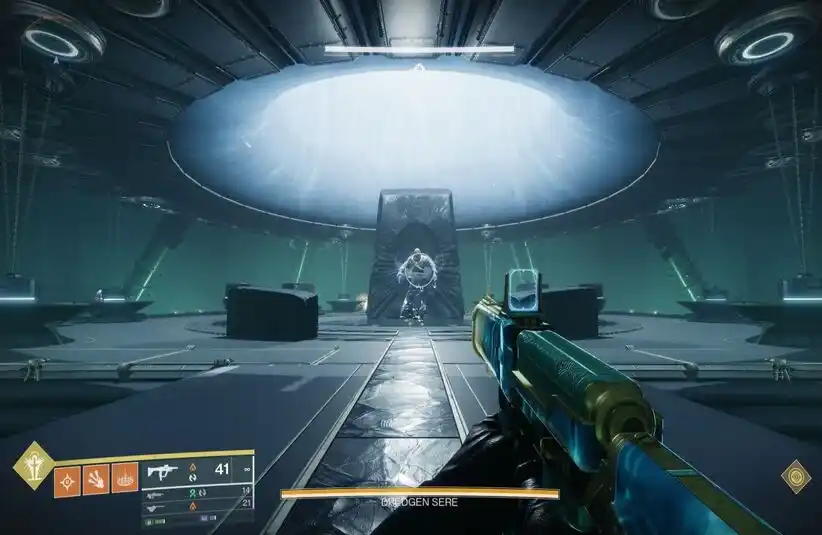
Your first task is to speak to Aunor Mahal in the Tharsis Cantina. From there, complete the Equilibrium dungeon. Once you have slain Dredgen Sere for the first time, you get a relic. Return to the first encounter of the dungeon. Once you have killed the first set of ads, run beyond the rally banner to the door in front of you. Place your relic in the room to progress the quest.
The Way Between Second Relic
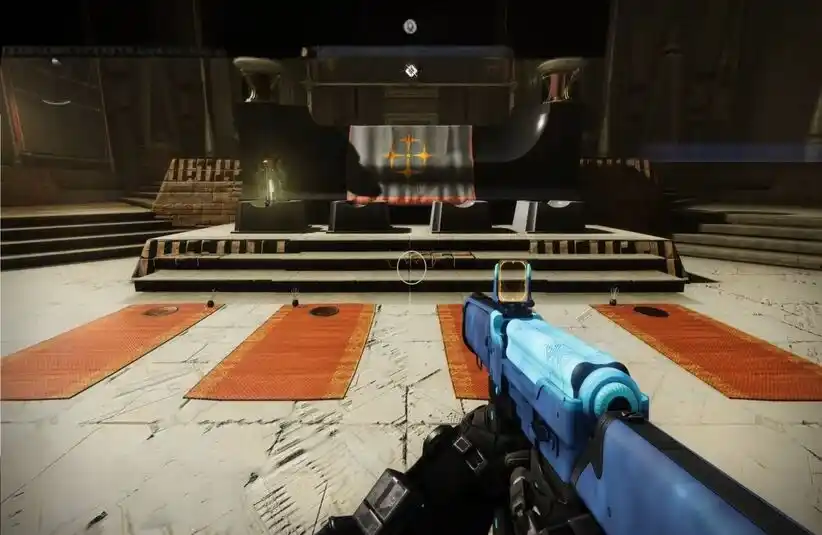
After placing your first relic, you will need to find the rest of them. Complete the first encounter to gain access to the second relic. Before you board the harvester, head back to Praxic Temple. Turn to your right to go through the sparrow section, and you will see a blight. Break it with the Praxic Blade. A timer will start, and you must acquire the Shadow buff. Killing the Taken eyes will spawn the Shadow pools. Once you have max Shadow, break the Taken Captain’s shield with the Shadow Power. Break the Taken Orb and progress through the outside section.
You will have two more bubbles to break out of before you are unable to unlock a door. Right before entering the Praxic Temple area, on the left, you will notice a door. Unlock the door with Shadow Power on the panel and retrieve the relic. Complete the dungeon and return to the Temple to earn the Offensive Form.
The Way Between Third Relic
The rest of the relics follow the same pattern. You will need to kill Taken eyes to progress the Shadow buff. The location for blight is before you open the door to cross through the NLS exposure. You will notice the blight in between the fuses. You can open the door to save time later, as you will need to cross. Follow the blights down towards the boss and get your third relic. Complete the dungeon and turn to the Temple to earn Invigorating Blade.
The Way Between Fourth Relic
The final Taken blight for the Fourth Relic is in the section where you have to use Shadow Power to progress. You will need to climb during this section to find the panels. Destroy the airborne Taken Orbs to spawn platforms. Once you have hit all the panels, continue towards the final boss area until you reach the last of the Taken spots. Complete the dungeon and return to the Temple to earn the Gyro Core.
The Way Between Encounter Fight
After you have placed all four relics, you have one final encounter to complete. Activate the next part of the step in the Temple. That spawns a Rally Banner and a Taken Orb. You will teleport inside a room with a Shadow of Sere. Build up Shadow Power through killing enemies. Break the Captain’s Shields to spawn Taken Orbs on the corner doors. These will grant access to Taken Eyes and increase the number of Orbs that spawn platforms, as well as extend the time.
Once you are Shadow Master, compel the Shadow to remove a portion of its health. Repeat this three times and then ascend to the top to fight her. Remove half of its health bar and repeat the process a second time to gain the Energy Conduit Catalyst.
The Way Between Final Steps
Enter the Praxic Light. Doing so will allow you to attune to any weapon and armor in the dungeon. Finally, speak to Aunor Mahal to complete the quest.