Helldivers 2: How To Find And Kill Hive Lords, The Ultimate Bug Hunt Guide
So, you’ve been having a blast spreading managed democracy across the galaxy in Helldivers 2, and now you’re faced with something that makes the average Bile Titan look like a house pet. Enter the Hive Lord – a massive, terrifying bug that apparently didn’t get the memo about dying easily. These colossal creatures have been giving Helldivers nightmares since their introduction, and honestly? They should.
If you’re here reading this guide, chances are you’ve already had your democratic dreams crushed by one of these behemoths. Don’t worry – we’ve all been there. The good news is that with the right strategy, loadout, and a healthy dose of stubbornness, you can take down these oversized insects and live to tell the tale (assuming you don’t accidentally call in an orbital strike on your own position, but that’s a different story).
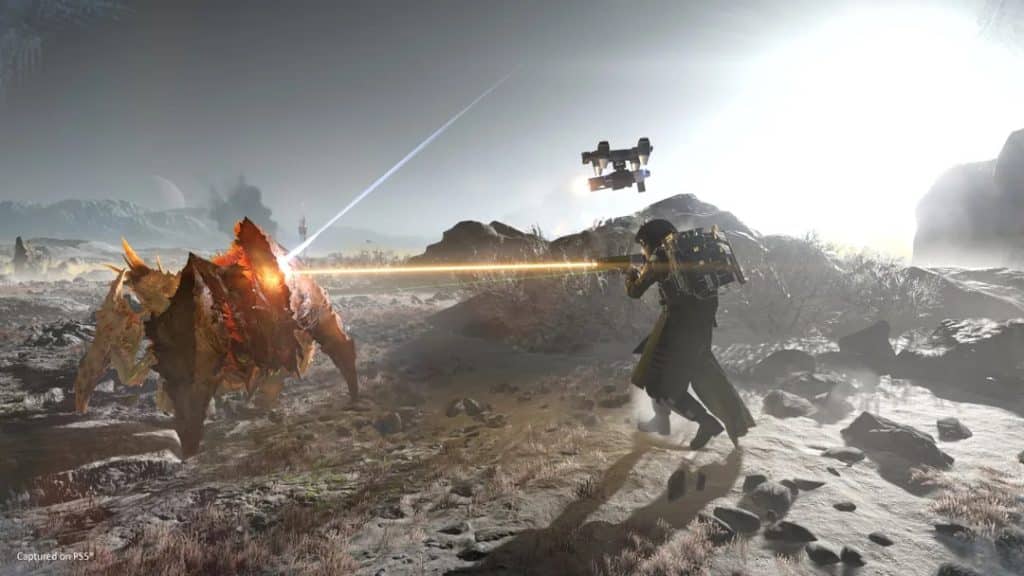
Understanding Your Eight-Legged Nemesis
Before we dive into the fun part of turning these bugs into bug paste, let’s talk about what you’re actually up against. Hive Lords aren’t your garden-variety Terminids that you can sneeze on and watch explode. These things are absolute units – massive, heavily armored, and sporting enough health to make a Hulk jealous.
The most frustrating part? They can apparently tank more punishment than a democracy-hating bot factory. We’re talking about creatures that can eat 15 Hellbombs for breakfast and still have room for dessert. Yes, you read that right – fifteen. That’s enough explosive democracy to level a small Bug outpost, and these things just shrug it off like it’s a light drizzle.
But here’s the thing that keeps us coming back for more punishment: if it bleeds, it can die. And trust me, with enough firepower and determination, you’ll make these things bleed plenty.
Where To Find Hive Lords In Helldivers 2
Finding a Hive Lord isn’t exactly difficult – they’re not hiding in some secret location playing hide and seek. These massive bugs typically show up in high-difficulty missions, usually when you’re least prepared for them (because of course they do).
You’ll most commonly encounter them during Bug missions on higher difficulty levels. They tend to appear as part of major Bug breaches or as bosses protecting important objectives. Sometimes they’ll spawn during those delightfully chaotic moments when everything’s going wrong and your team is already dealing with a swarm of lesser Terminids.
The telltale signs you’re about to have a very bad time include: massive roaring sounds that shake your controller, the ground trembling like there’s an earthquake, and your teammates suddenly screaming over voice chat. If you see a shadow that’s way too big to be anything friendly, congratulations – you’ve found your target.
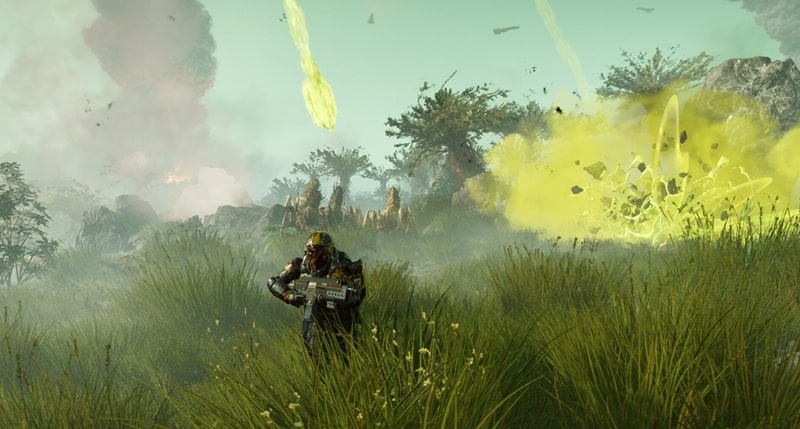
Essential Loadout For Hive Lord Hunting
Let’s be brutally honest here: your standard “spray and pray” approach isn’t going to cut it against these things. You need to come prepared like you’re planning to demolish a small moon, because that’s basically what you’re up against.
Heavy Anti-Tank Weapons: This isn’t the time to mess around with your trusty assault rifle. Bring the biggest, meanest anti-tank weapons you can get your hands on. The Expendable Anti-Tank (EAT-17) launcher and the Recoilless Rifle should be your best friends. Pack multiple shots because you’re going to need them – lots of them.
Orbital Strikes: Stock up on orbital bombardments like you’re preparing for the apocalypse. Orbital Laser, 380mm HE Barrage, and Precision Strike are all solid choices. Just remember to call them in on the Hive Lord, not on your teammates (we’ve all been there, no judgment).
Team Coordination: This might be the most important “weapon” of all. Make sure your squad is on the same page. Designate who’s bringing what, coordinate your attacks, and for the love of Super Earth, communicate when you’re about to drop an orbital strike.
How To Kill Hive Lords In Helldivers 2
Now for the moment you’ve been waiting for – the actual bug squashing. Fair warning: this isn’t going to be quick, easy, or particularly pleasant. These things have more health than some small countries have citizens, so settle in for a long fight.
Focus Fire Strategy: The key to taking down a Hive Lord is concentrated, sustained damage. Don’t spread your attacks around like you’re trying to pest control an entire planet. Pick a spot (preferably a weak point if you can identify one) and everyone needs to focus their fire there. Think of it like democracy – it works best when everyone’s working toward the same goal.
Kiting and Positioning: These things hit harder than a Charger with anger management issues, so don’t try to face-tank their attacks. Keep moving, use cover when possible, and maintain distance. The Hive Lord’s massive size actually works in your favor here – it’s not exactly subtle about its movements, so you can usually see attacks coming.
Exploit Weak Points: Like most Terminids, Hive Lords have weak spots that take increased damage. These are usually located around the head and underbelly areas. Landing shots on these areas will help you chip away at their massive health pool more efficiently.
Sustained Assault: Remember those 15 Hellbombs we mentioned earlier? Yeah, you’re going to need that kind of sustained firepower. Don’t expect to drop a single orbital strike and call it a day. This is going to be a war of attrition, and the side with more patience (and ammunition) is going to win.
Advanced Combat Tactics
Once you’ve got the basics down, some advanced strategies can make your Hive Lord hunts more successful and less of a democratic disaster.
Divide and Conquer: If you’re dealing with multiple threats (because the game loves to throw curveballs), prioritize clearing out smaller enemies first. The last thing you need is to be focused on the Hive Lord while a bunch of smaller bugs are turning your squad into Swiss cheese.
Environmental Advantages: Use the terrain to your advantage. High ground gives you better angles for hitting weak spots and makes it harder for the Hive Lord to close distance. Just make sure your escape routes are clear – getting cornered by one of these things is not a fun experience.
Resource Management: Manage your stratagems and ammunition carefully. It’s tempting to dump everything you have in the first minute of combat, but these fights can drag on. Pace yourself and make sure you’re not left empty-handed when the Hive Lord is at low health.
Surviving The Encounter
Let’s face it – even with the best strategy and loadout, things can go sideways fast when you’re dealing with Hive Lords. Here are some survival tips that might save your democratic hide:
Stay calm when everything inevitably goes wrong. Panic leads to poor decision-making, which leads to accidental team kills and mission failures. Keep communicating with your team, stick to the plan, and remember that even if you fail, you can always try again (that’s the beauty of managed democracy).
Most importantly, don’t get discouraged if your first few attempts end in disaster. These things are tough for a reason – they’re meant to be a serious challenge that requires teamwork, strategy, and persistence. Every failed attempt teaches you something new about their attack patterns and vulnerabilities.
The satisfaction of finally taking down your first Hive Lord is worth all the frustration, trust me. There’s nothing quite like watching one of these massive bugs finally collapse after a prolonged battle, knowing that you and your squad managed to overcome one of the game’s toughest challenges through sheer determination and superior firepower.
Visit Total Apex Gaming for more game-related news.

