Bloodsworn Bond: How To Dominate the Convergence with Ashe and Tryndamere in Set 16
In a meta dominated by four and five-cost units, one reroll composition stands out. Ashe and Tryndamere’s Bloodsworn Bond competes with the highest-capped boards of the set. As a reroll composition, it has specific requirements. It will likely lose to the premier level ten late-game boards. Today, we are discussing why this comp is relevant, when you should play it, and how to optimise the setup.
Understanding Bloodsworn Bond
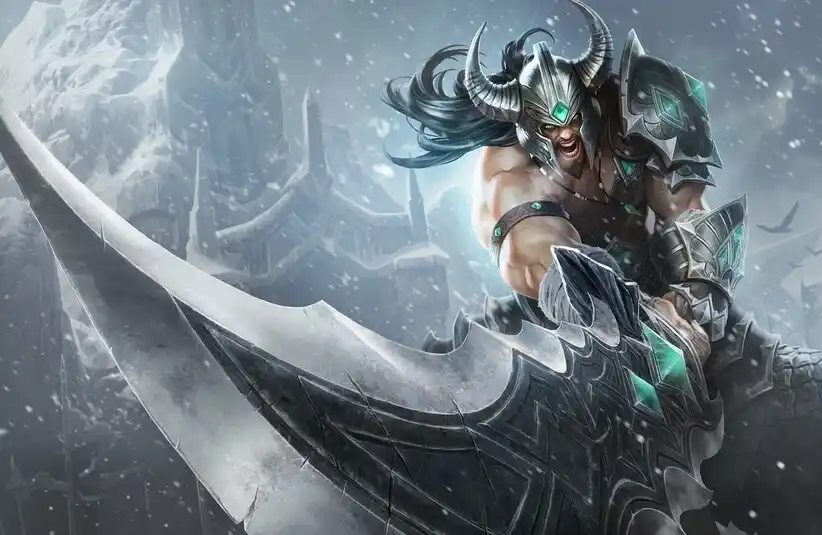
Ashe and Tryndamere have additional abilities when fielded together. When Ashe and Tryndamere are on the same board, Bloodsworn Bond is triggered. Tryndamere gains bonus movement speed and 10% Attack Damage. Every subsequent takedown by Ashe or Tryndamere grants Tryndamere 1% additional Attack Damage. Ashe gains an additional arrow for every 10% Attack Damage gained by Tryndamere.
The Prevailing Composition
The seven core units of the Bloodsworn Bond composition are:
- Briar
- Ashe
- Tryndamere
- Neeko
- Sejuani
- Draven
- Swain
The core units grant us multiple traits in the form of: Freljord, Noxus, Arcanist, Defender, Juggernaut, Quickstriker, and Slayer. The ideal goal is to three-star Ashe, Tryndamere, and Neeko. Neeko is a luxury but a good chase if you have the health and econ. You want to roll on level six for the best chance to hit the three-star units. Our board on level six is the above units, minus Swain. If you manage to reach higher levels, you can add Kindred, Taric, or Skarner.
When to Play the Composition
Forcing the Bloodsworn Bond reroll is not ideal as it has specific conditions. At least one Ashe early is a must to unlock Tryndamere as soon as possible. You will also need multiple items that you can slam on Ashe to get the unlock. Ideally, you want bows, as this composition is bow hungry. The best item slams for Ashe early are Red Buff, Guinsoo’s Rageblade, Quicksilver, Kraken Slayer, and Bloodthirster.
Itemization
If you can get nine items total, you are set for a dominant board. The best Tryndamere items are Guinsoo’s Rageblade, Quicksilver, and Bloodthirster. Titan’s Resolve is a weaker replacement for Quicksilver. Due to Ashe’s ability animation, Guinsoo’s is not necessary for her. Ideally, you want Red Buff, Kraken’s Fury, and Giant Slayer. Any Tank items will do for Neeko, but Protector’s Vow will increase the amount of casts she gets. Giving her Evenshroud will help to tear through tankier frontlines. Prioritize Tryndamere and Ashe items to get Tryndamere’s Bloodsworn Bond stacking early.
Optimizations

Taking reroll-centric or item augments is pivotal for this composition. Pandora’s Items helps to hit all the necessary items. Artifact Augments are also a consideration, as many of them increase Tryndamere’s power. Almost any fighter Artifact works, with the best being Rapid Firecannon. If you hit one of these Artifacts, replace Bloodthirster.
Positioning is key for this composition. You want to try to have Ashe, Tryndamere, and Neeko on the same side. Tryndamere deals bonus damage to Chilled enemies. Neeko and Ashe’s abilities chill, meaning you want Tryndamere to hit the same targets. The default positioning for the composition is as follows:
- Sejuani – A2
- Swain – A4
- Neeko – A5
- Briar – B4
- Frozen Tower – B5
- Tryndamere – C6
- Draven – D4
- Ashe – D6
The positioning grants Tryndamere the bonus damage from Freljord while attacking the same targets as Neeko and Ashe. You can shift around the positioning based on your opponent, but try to ensure that you keep Ashe, Trydamere, and Neeko on the same side.


