How to Annihilate the Everdark Sovereign Darkdrift Knight in Elden Ring Nightreign August 24, 2025
Look, I’ve been playing FromSoftware games since Demon’s Souls made me question my life choices, and I can tell you with absolute certainty: the Everdark Sovereign Darkdrift Knight is one cruel joke wrapped in divine armor. This centaur nightmare has been keeping players awake at night, staring at their screens in disbelief after getting obliterated for the fifteenth time in a row.
After spending way too many hours getting my pride thoroughly trampled by Fulghor (yes, that’s his name, and yes, it sounds like a villain from a Saturday morning cartoon), I’ve finally cracked the code. This boss isn’t just hard – it’s the kind of hard that makes you wonder if Miyazaki personally has it out for you.
Elden Ring Nightreign: Fulghor, the Darkdrift Knight Who Breaks Your Soul and Your Stamina

Understanding the Everdark Sovereign Challenge
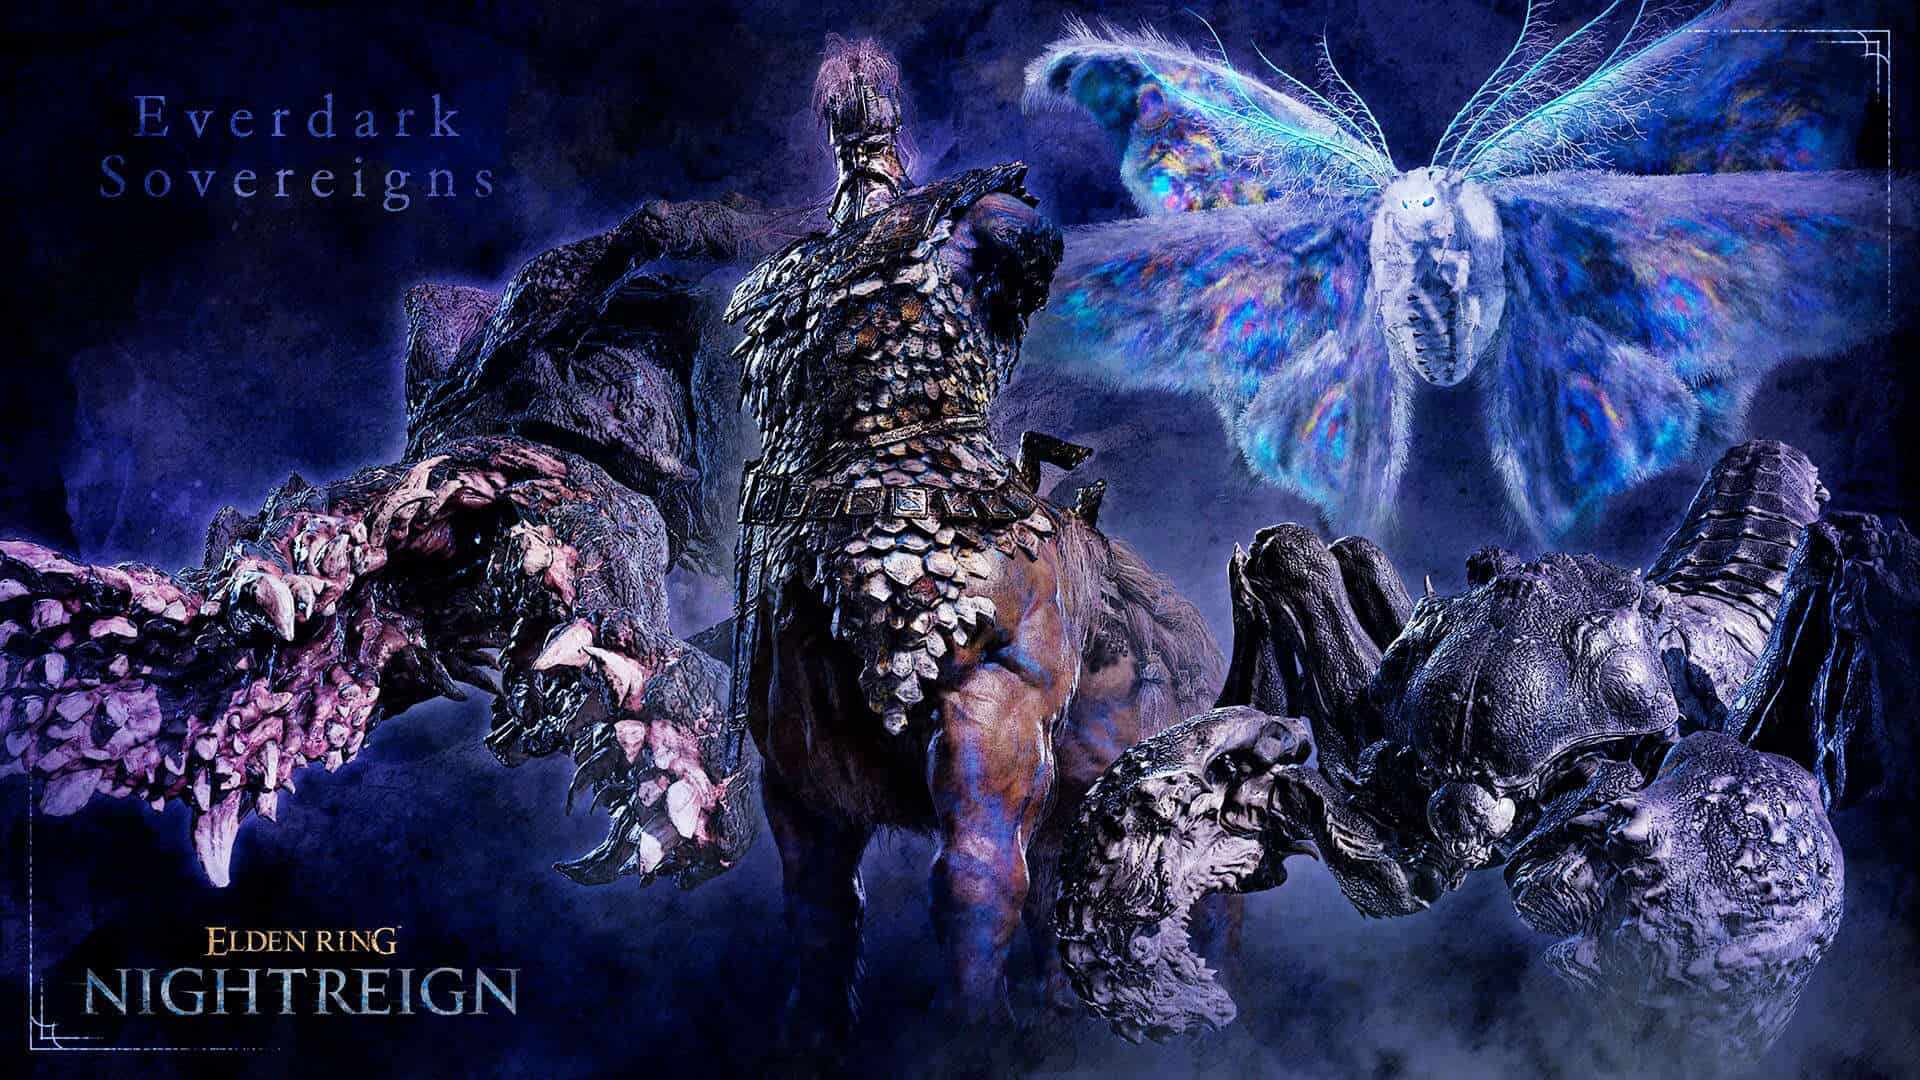
The Darkdrift Knight represents the second official Everdark Sovereign encounter in Elden Ring Nightreign, and honestly, whoever designed this fight deserves both a raise and a strongly worded letter. This isn’t your typical Dark Souls boss where you can memorize patterns and execute perfect dodges. Oh no, this centaur dares to combine tank-level durability with nuclear-grade holy arrows that’ll send you scrambling across the arena like you’re dodging actual missiles.
What makes this fight particularly brutal is the time pressure. You’ve got exactly one week to take down this divine disaster, which means every attempt counts. The arena at Gaping Jaw becomes a pressure cooker where one mistake can cost you precious time and resources.
The worst part? Those fire clouds that chase you to the arena’s edge. I’ve never felt more personally attacked by pixels in my entire gaming career. It’s like the game knows exactly when you think you’re safe and decides to remind you that safety is an illusion.
Pre-Fight Preparation That Actually Matters
Here’s where most guides tell you generic nonsense about “being prepared.” Let me give you the real deal – the stuff that’ll actually keep you alive longer than thirty seconds.
Essential Gear Requirements
First things first: if you walk into this fight without at least two Grand Relics, you’re basically volunteering for humiliation. Three is better, but I understand not everyone has that luxury. Lightning damage isn’t just recommended – it’s practically mandatory. This boss takes lightning damage like a sponge absorbs water, so prioritize any relics or location strategies that can deliver those sweet, sweet electrical beatdowns.
Your defensive setup needs to focus heavily on Holy and Physical damage negation. Trust me on this one – I learned the hard way that fashion souls doesn’t work when you’re getting nuked by divine arrows. Stack that defense like your digital life depends on it, because it absolutely does.
The Map Trick Everyone Should Know
Here’s a pro tip that’ll save your sanity: use Sovereign Sigils to shift to Shifting Earth: Noklateo. This gives your team a free party revive, which is basically a get-out-of-jail-free card for when things inevitably go sideways. And they will go sideways. Multiple times.
Character Selection Strategy
Forget everything you think you know about team composition. This fight demands a specific approach that balances survivability with damage output. Glass cannon builds get absolutely demolished – we’re talking one or two hits and you’re decorating the arena floor.
The Dream Team Setup
After countless failed attempts, I’ve found that two frontline fighters plus one ranged support creates the perfect storm of chaos control. The frontliners keep Fulghor distracted while your ranged character chips away at his ridiculous health pool.
Wylder emerges as the absolute MVP here. His clawshot mobility lets him keep pace with this ADHD centaur while everyone else gasps for stamina. Plus, his fire application synergizes beautifully with other team members’ abilities. If you’re not running Wylder, you’re making life unnecessarily difficult.
Revenant brings summons and revival capabilities, but managing FP during extended fights becomes a nightmare without proper starlight shard management. Still solid, just resource-intensive.
Recluse offers the best balance with superior HP pools and those devastating Lightning Magic Cocktails. If you need reliable backup DPS, this is your character.
For tanks, you’ve got Guardian for defensive revival tactics versus Executor for offensive parry opportunities. Choose based on your team’s playstyle – defensive patience or aggressive risk-taking.
Phase Three: Where Dreams Go to Die
The third phase transforms this already challenging fight into something that feels like a cosmic joke. Gone is the predictable dark damage – welcome to holy explosion city, population: everyone who’s about to get vaporized.
Fulghor’s Assault Breakdown
The thirteen-hit twinblade spin attack targets non-primary players, but don’t think that makes you safe. The dodge timing requires surgical precision: backstep like the floor is lava, sprint during cooldowns, and here’s the counterintuitive part – dodge forward through those final swings for counterattack opportunities.
The Tactical Arrow Nuke
This attack earned its meme name through sheer terror. Getting hit means instant death puddles, period. The survival strategy sounds insane but works: sprint toward and under Fulghor. Every instinct screams to run away, but trust the process. Running toward the thing trying to kill you is peak FromSoftware logic.
Combat Tactics That Actually Work
Resource conservation early in the fight isn’t just smart – it’s survival. Wasting boiled crab in phase one is like burning money. Art usage should either open the fight or wait for phase three chaos. When that transition hits, ranged attackers need to unload everything while melee fighters take a strategic breather.
Damage Windows and Vulnerability
Fulghor’s massive health pool (43,000 HP) means every damage window counts. Prime opportunities come after Rushing Nightglow, Waves of Wind, and the Tactical Arrow Nuke (assuming you survive the dodge). Lightning remains his biggest weakness, while holy and slash damage barely scratch this divine tank.
Ranged DPS players should maintain aggressive positioning – chip damage accumulates faster than you’d think. The key is staying close enough to matter without getting close enough to die.
Pro Tips from the Trenches
Here’s wisdom earned through pain: when two teammates go down, focus the boss unless you have revival Art ready. Frostbite becomes your best friend for health shredding without aggro spikes. Heavy staggers? Forget about it – his poise is absolutely ridiculous.
Never, and I mean never, assume safety behind Fulghor. That tail swipe has ended more runs than I care to admit. 360-degree awareness isn’t optional; it’s mandatory for survival.
Victory Rewards and Final Thoughts
Success nets you 25 Sovereign Sigils plus a game-changing relic that boosts stamina, affinity attack power, and Art gauge fill rates. The relic alone makes this brutal encounter worthwhile, transforming how your character performs in subsequent battles.
This fight represents a significant escalation in Elden Ring Nightreign’s difficulty curve. FromSoftware has clearly decided that players needed humbling, and Fulghor delivers that humbling with divine authority. The encounter sets expectations for future Everdark Sovereigns – expect dragon hybrids, time-manipulation mechanics, or whatever fresh hell Miyazaki’s team dreams up next.
The Darkdrift Knight isn’t just a boss fight; it’s a statement. It declares that comfort zones are meant to be shattered, that mastery demands sacrifice, and that sometimes the best victories come from the most frustrating defeats. When you finally see Fulghor fall, the satisfaction rivals anything FromSoftware has ever delivered.
So gear up, gather your best teammates, and prepare for a fight that’ll test everything you think you know about Elden Ring combat. Just remember – when those holy arrows start flying and the arena erupts in divine flames, the only way out is through.
For more gaming related articles visit Home – Total Apex Gaming
For more Nightreign articles visit Total Apex Gaming Elden Ring Nightreign