In Animal Crossing: New Horizons, bridges play a big role in advancing in the game. They make other parts of your island more accessible and have aesthetic appeal. In this article, we’re going to go over everything you need to know on how to build a bridge in Animal Crossing. As you play, you’ll want to build bridges because they offer a convenient way to connect different areas without needing a vaulting pole.
Understanding Bridges in Animal Crossing
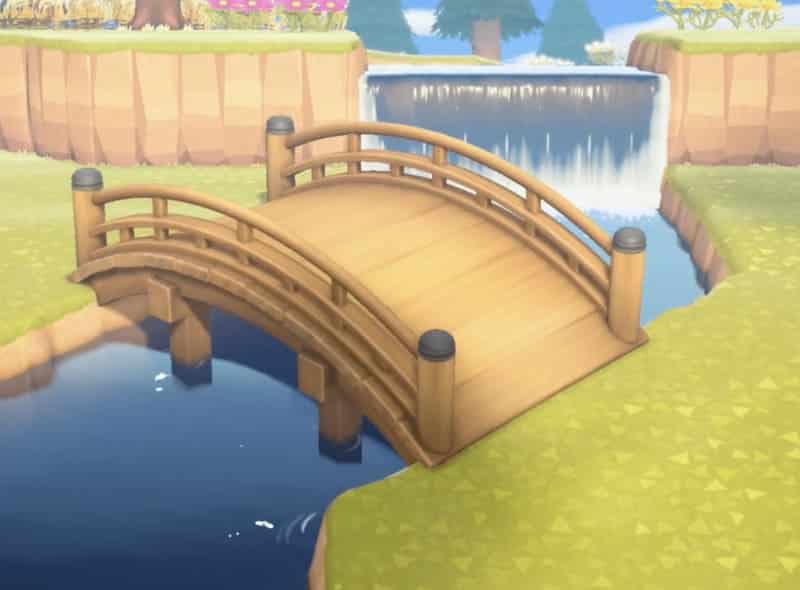
Bridges in Animal Crossing: New Horizons are an important part of the infrastructure. They allow players and villagers to cross rivers and connect different parts of your island. They remove the need for you to switch back and forth between tools by providing a permanent walkway across the water.
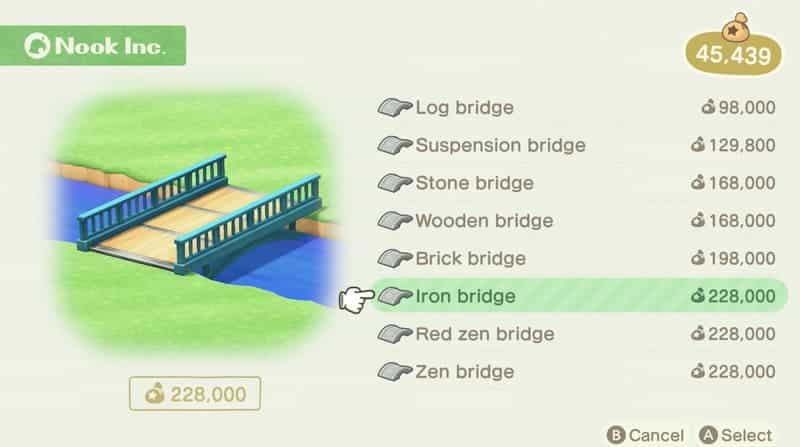
You can choose from various bridge types, each with unique looks and differing costs. Options range from wooden or stone bridges to more complex designs. These include suspension and zen bridges. Each type of bridge is priced differently. Let’s get into the details of how to build a bridge in Animal Crossing.
Building Your First Bridge
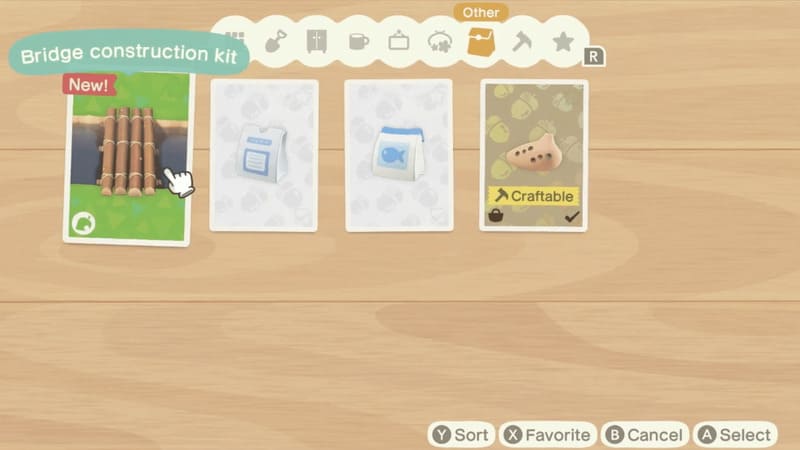
Learning how to build a bridge in Animal Crossing is exciting. It’s the first part of improving your island’s infrastructure. To make a bridge in Animal Crossing: New Horizons, you’ll need to collect the right materials: four stone, four clay, and four log stakes.
You need these items to craft the bridge construction kit. Clay and stone can be collected by hitting rocks around your island. Log stakes can be crafted at the DIY workbench but only after you’ve unlocked the recipe on the NookPhone. You can do this chopping down trees and gathering wood. Once you’ve created the kit, select a location you like near a river. Place the kit on the ground, confirm its location, and move on to the process of paying for your bridge.
Financing Your Bridge
To fund your bridge in Animal Crossing: New Horizons, Lloid can be found in front of the construction site to collect donations from both you and island residents over time. Once enough money has been funded, construction begins, and the bridge will be completed by the following day at 5 AM.
Celebrating Your New Bridge
Once your bridge is completed, there will be a celebration ceremony. You can visit Tom Nook at Resident Services to initiate the celebration and you’ll have the opportunity to say a few words as the Resident Representative and enjoy a festive moment with your villagers. There’s even party poppers and confetti!
Building Additional Bridges
Once you upgrade the Resident Services building in Animal Crossing: New Horizons, making additional bridges becomes easier. To make additional bridges, visit Tom Nook in the Resident Services building, and select “Let’s talk infrastructure.” Choose the type of bridge you want and receive a bridge marker kit to place at your chosen location.
You can make sure you like the spot by selecting the “Let me imagine it” option. Finance the project through donations collected by Lloid, and within a day, your new bridge will be ready to enhance island accessibility. It will look much better, too. Be sure to keep in mind that you can have up to 10 bridges on your island.
Wrapping Up
Learning how to build a bridge in Animal Crossing transforms what you can do in the game. You can start focusing on improving your island for the better and getting 5 stars! So start up your game and explore the different bridge styles available!
For More Great Content
If you liked this, check out our Gaming content here!
Total Apex is an all-encompassing content producer. We provide heavily-detailed articles every day on entertainment, gaming, sports, and so much more! Check out all our great sports content Total Apex Sports. Check us out on X @TotalApexEandG and our other sites: Total Apex Entertainment, Total Apex Gaming, Total Apex Sports Bets, and Total Apex Fantasy Sports. For more articles by Brianna Goulet, click here!


