Boss Tips for Silksong, Part 11 – Welcome to Act 3
Welcome to Silksong’s secret level. Hope you enjoyed Act 2, because Act 3 is a nightmare, wrapped in a horror show, and stuffed in a jack-in-the-box of frustration. This Act has some of the coolest boss and level designs in the game. Unfortunately, these both come with enemies that hit harder and bosses that pull even more annoying moves. Prepare for pain.
Bell Eater: Two Ends Aren’t Better Than One
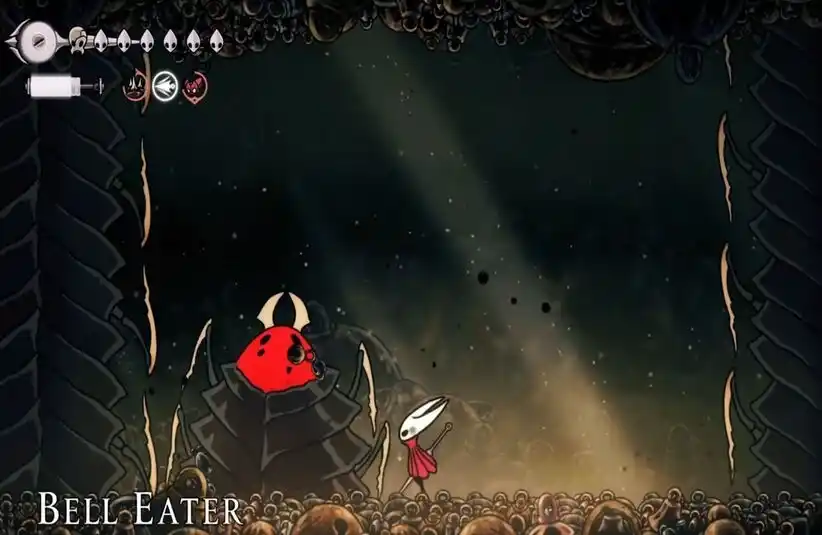
Unless you are adept at using the Hunter Crest, the trek to this boss will be far more complicated than the boss itself. Both ends have their own hit boxes, so using Red Tools that allow you to hit both simultaneously is your best bet. To that end, Voltvessels, Conchcutter, Throwing Ring, Curveclaw, and Cogflies will be your best friends.
Architect Crest gives you the most options, but Witch and Wanderer are also good. When the boss travels across the ground, you will be required to stay airborne for some time. While you can do so by pogoing, you can also Bind while to increase your air time.
Shrine Guardian Seth: Alright, Calm Down, Bro
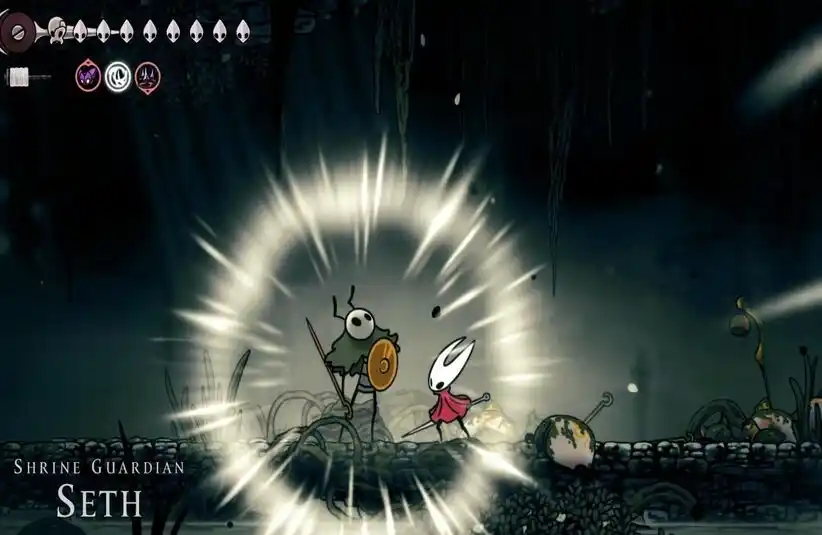
This boss is incredibly active. As a result, you have two options: attempt to match its speed or play defensive. Personally, I find playing defensively to be the better option. Cogflies, Tacks, and Sting Shard can do quite a bit of work against this boss, especially when paired with Pollip Pouch.
If you are going to try to be aggressive, you will have to learn his patterns and capitalize on his incredibly brief windows of opportunity. There really is no cheese way to beat him if you are attempting to match his aggression though. I’d suggest using Wanderer or Beast. Witch can work, but you’ll have to time the Bind just right.
Lost Garmond: A Silksong Tragedy in 3 Parts
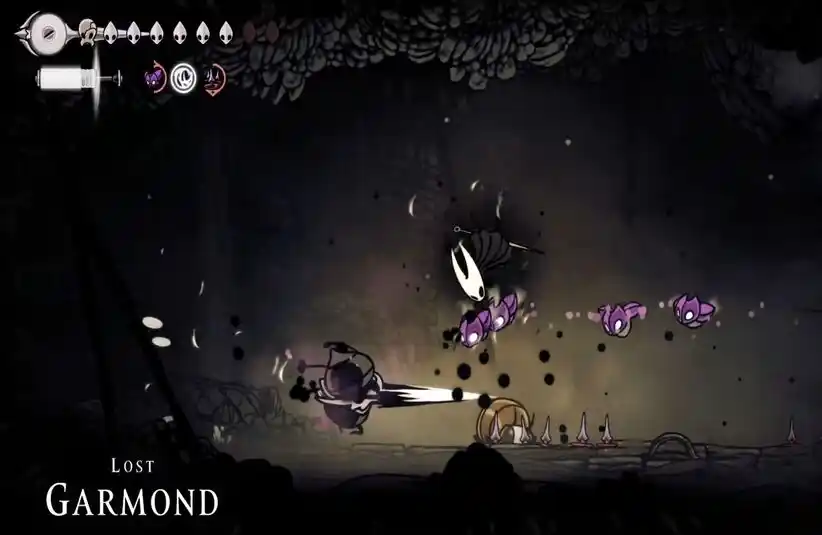
Tacks. Just use Tacks. Lost Garmond’s abilities are either massive AoE attacks or abyss-tainted explosions of goop. And they all hit like bullet trains. That said, you are on the other side of the map; he will simply walk towards you. not jump, not teleport, not dash, walk. As a result, if you place Tacks along the path and just keep switching sides as he gets close, you can take him out with relative ease.
You access this boss through the Hero’s Call wish. As such, it is technically optional. If you prefer to believe that Garmond and Zaza manage to escape the Abyss and live out the rest of their lives in peace and happiness, I would suggest you don’t even bother accepting the wish. The reward is superficial anyway.